How to Sand Polymer Clay for a Smooth Finish
Sand cured polymer clay wet, starting with a medium paper and working up through finer grades. Each stage removes the scratches left by the one before.
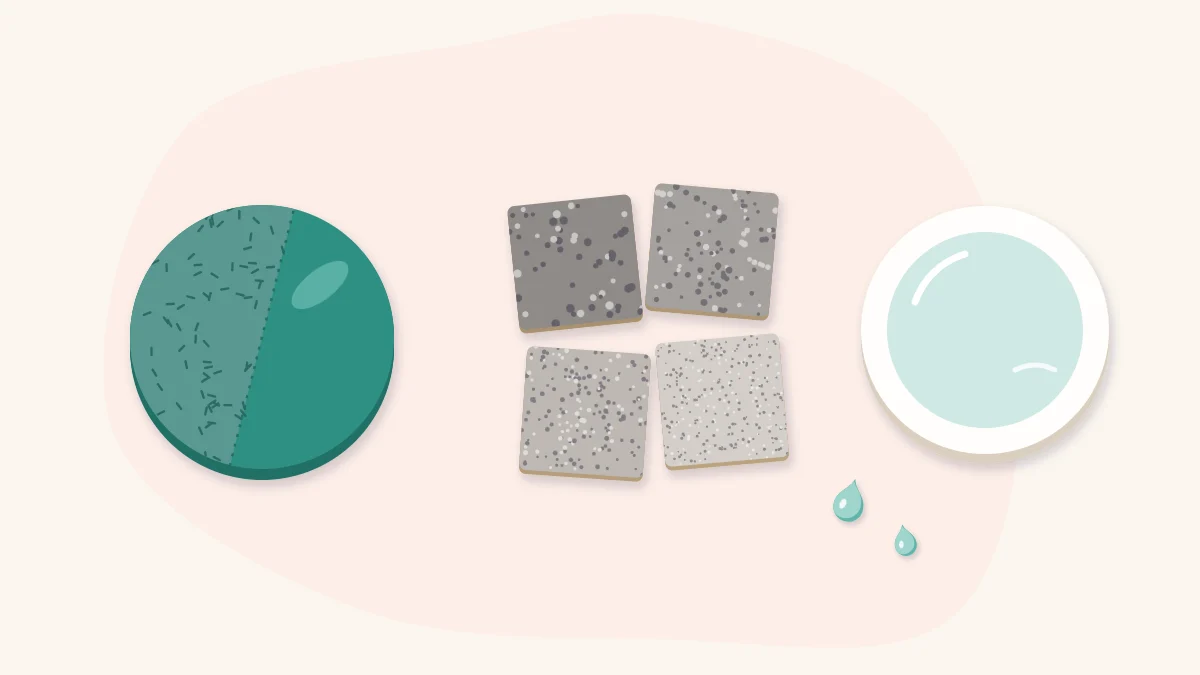
Tutorial at a glance
Materials
- Cured and cooled polymer clay pieces
- Wet-and-dry sandpaper in three or four grades, medium to very fine
- Shallow bowl of water with a drop of dish soap
- Old towel
- Soft cloth
- Small flat block to wrap paper around
- Foam-backed sanding pads for curved pieces (optional)
Learning how to sand polymer clay is what separates a piece that looks handmade in a good way from one that looks unfinished. Sanding removes fingerprints, cutter ridges, small bumps and the sharp corners left on cut edges. It is done after curing, on clay that has cooled completely, and it is done wet.
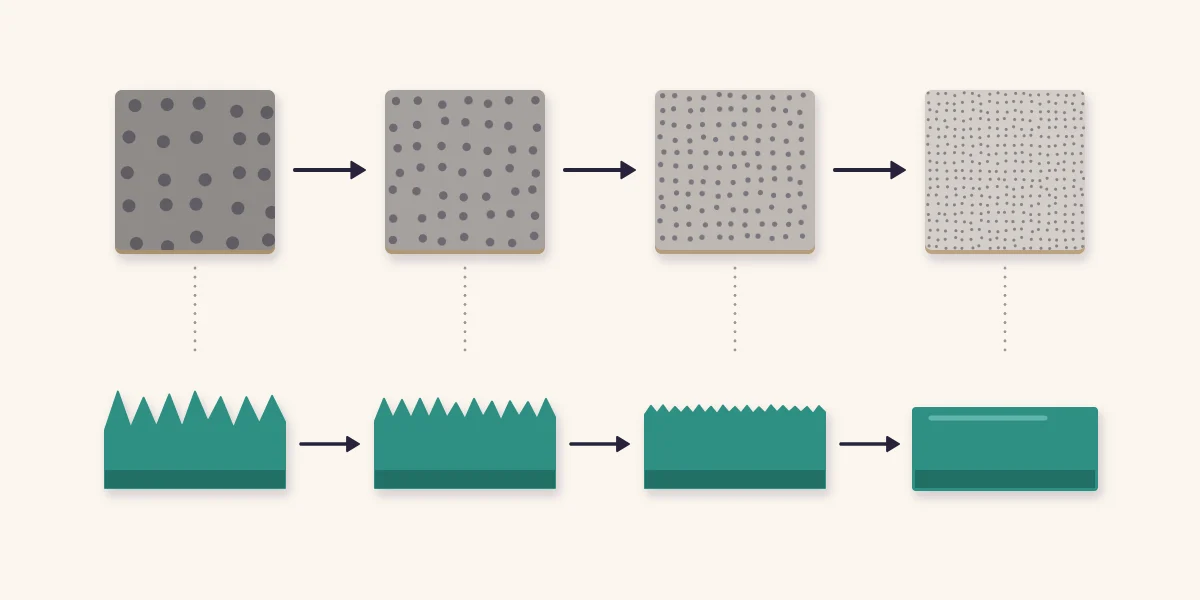
The method is simple but it has an order. You start with a coarser paper to remove the flaw, then work through finer and finer papers, each one erasing the scratches left by the one before. Skipping ahead is the most common reason a sanded piece ends up dull and scratched instead of smooth.
What You Need
- Wet-and-dry sandpaper in three or four grades, from medium to very fine
- A shallow bowl of water with one drop of dish soap
- An old towel to work over
- A soft cloth for drying and checking the surface
- A small flat block, such as an eraser, to wrap paper around for flat faces
- Optional: fine sanding sponges or foam-backed pads for curved pieces
Use wet-and-dry paper, not ordinary woodworking sandpaper. Ordinary paper falls apart when it gets wet, and wet sanding is the point of the whole method.
Why Wet Sanding
Sanding cured clay dry produces a fine dust that drifts onto the work surface and into the air. Wet sanding traps that dust in the water as a cloudy slurry, so it stays in the bowl instead. Keeping the dust down is the main reason to sand wet, and it is worth treating as a rule and not as an option.
Water also helps the work itself. It rinses clay particles out of the paper so the grit keeps cutting, and it keeps the surface cool. Dry paper clogs quickly and then smears the clay instead of abrading it.
Watch out
Do not pour the sanding slurry down the sink. Let the bowl stand so the particles settle, pour off the clear water, and wipe the sludge out with a paper towel for the trash. Wash your hands when you finish, and keep the bowl for clay work only.
Check the Piece Before You Start
Only sand clay that has been properly cured and has cooled. Under-cured clay tends to be weak and brittle, and thin pieces can snap under the pressure of sanding. If a piece flexes oddly or crumbles at the edge, the cure is the problem, and the guide on how to cure polymer clay is the place to go next.
Look at what actually needs removing. A piece with clean surfaces and only a rough edge needs its edge sanded, nothing more. Sanding a face that was already smooth just creates extra work, because every scratch you add has to be polished back out.
Choosing Sandpaper Grits
Grit numbers describe how coarse the paper is: a low number is coarse and removes material quickly, and a high number is fine and only refines the surface. For most polymer clay work, start around 400 grit and work up through progressively finer papers. Drop to something coarser only for a real lump or a deep fingerprint, and expect more work afterward to remove the scratches it leaves.
| Stage | Paper | What it does | When to move on |
|---|---|---|---|
| Shaping | Medium, around 400 grit | Removes ridges, bumps and fingerprints | The flaw is gone and the surface is evenly dull |
| Smoothing | Fine | Erases the scratches from the first paper | No coarse scratches are visible when the piece is dry |
| Refining | Very fine | Leaves a soft, even matte surface | The surface feels silky under a fingertip |
| Pre-polish | Extra fine | Prepares the surface for buffing to a sheen | The dry surface shows a faint, even glow |
How far you go depends on the finish you want. A matte piece can stop after the fine paper. A piece you intend to buff to a shine needs every stage.
How to Sand, Step by Step
- Soak the paper. Cut small squares of each grade and wet them in the bowl. Mark the grade on the back of each square in pencil so they do not get mixed up.
- Start with the coarsest grade you need. Hold the piece over the towel, dip the paper, and sand in small circles with light pressure. Let the grit do the cutting; pressing hard only digs deeper scratches.
- Sand edges with long strokes. Run the paper along the edge instead of across it, turning the piece as you go so the edge stays even. A quick pass at an angle softens the sharp corner between face and edge.
- Rinse and dry to check. Wet clay looks smoother than it is. Wipe the piece dry and tilt it under a light. If you can still see the flaw you set out to remove, keep going with the same paper.
- Move to the next grade. Rinse the piece first so no coarse grit is carried forward. Sand until the scratches from the previous paper have gone, then dry and check again.
- Repeat to the finest grade. Each stage takes less effort than the one before, since you are only removing finer and finer scratches.
Flat Faces, Curves and Details
Flat pieces stay flat if the paper is flat. Lay a wet sheet on a tile and move the piece over it in a figure-eight, or wrap the paper around a small block. Sanding a flat face with paper held in your fingers rounds it over.
Curved pieces such as beads need the opposite: a soft backing that follows the shape. Foam-backed pads work well, and so does paper folded over a fingertip. For textured or patterned surfaces, sand only the edges and the back, because sanding the face removes the texture you made.
Tip
The less you have to sand, the better. Smoothing edges and removing fingerprints before curing saves most of the work, and cutting shapes cleanly on a tile leaves far less to tidy up afterward.
Common Sanding Problems
- A white haze in the surface. This is usually sanding residue left in fine scratches. Rinse well, then continue with finer paper until it clears.
- Scratches that will not go away. A grade was skipped or rushed. Go back one stage and work up again.
- A pattern that has faded or smeared. A thin surface layer has been sanded through. Use a finer starting paper and lighter pressure on patterned or layered pieces.
- Uneven, wavy edges. The paper followed the dips. Sand the edge against paper laid flat on a tile.
Flaws that began before curing, such as bubbles and trapped lint, are covered in the polymer clay troubleshooting guide.
After Sanding
Rinse the piece under clean water and dry it with a soft cloth. A sanded surface is evenly matte, and you can leave it that way. For more sheen, buff it firmly with a piece of soft cotton or denim. To go further, the guide to matte, satin and gloss finishes explains the options and how to test them.
Frequently asked questions
Should polymer clay be sanded wet or dry?
Wet. Sanding under or with water traps the fine clay dust in the water instead of letting it drift into the air and over your work surface. It also keeps the paper from clogging, so the grit keeps cutting cleanly.
What grit sandpaper should I start with?
For most pieces, start around 400 grit and work up through progressively finer wet-and-dry papers. Use something coarser only for a real lump or deep fingerprint, because coarse paper leaves scratches that take extra stages to remove.
Do I sand polymer clay before or after curing?
After. Sand only clay that has been cured according to its package instructions and has cooled completely. Before curing, smooth the surface with your fingers and tools instead, which reduces how much sanding is needed later.