Seasonal Clay Crafts
Miniature Polymer Clay Pumpkins for Fall
Miniature pumpkins built from a ball in three moves: flatten, press the ribs, add a stem. Spacing the ribs by halving keeps them even on every size.
Polymer clay tutorials, step by step
30 tutorials published
Miniature pumpkins built from a ball in three moves: flatten, press the ribs, add a stem. Spacing the ribs by halving keeps them even on every size.
Flat clay ornaments cut from one slab, with a clean punched hanging hole and pressed-in decoration. A simple seasonal project for decorative use only.
Matte, satin and gloss can each be reached by sanding and buffing the clay itself or by adding a coating. Products vary, so read the label and test on a cured scrap first.
Sand cured polymer clay wet, starting with a medium paper and working up through finer grades. Each stage removes the scratches left by the one before.
Clean cutter shapes depend on the surface you cut on, how firm the clay is and how the scrap is removed. This method keeps each piece flat on the tile from cutting through curing.
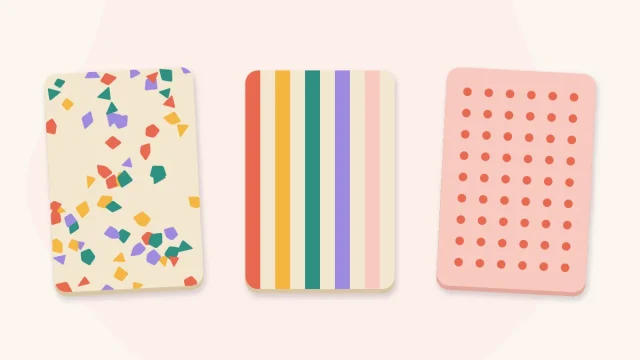
Three slab patterns built from the same few moves: thin decoration laid on a base sheet and rolled in until the surface is level. Learn how to keep stripes straight and dots round.
Three beginner canes teach the three core moves of caning: wrapping a log, stacking sheets and rolling a spiral. Build each one large, reduce it, and slice clean patterned pieces.
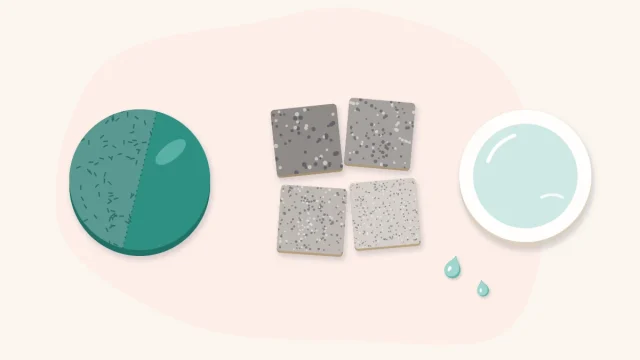
A toothbrush, a foil ball, a scrap of lace and a ball stylus each leave a different surface in soft clay. Learn which tool gives which texture and how to get a clean print.
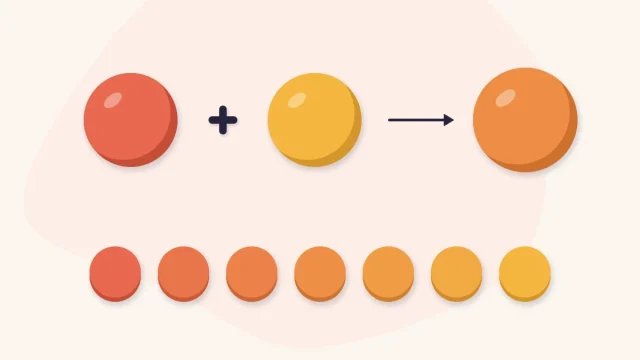
Mix custom polymer clay colors from a small palette by measuring in equal parts, then lighten, darken or mute them on purpose. A cured swatch record makes every shade repeatable.
Roll a tapered cone, join it to a round base with a properly blended seam, and lift the edge into a shallow dish. The proportions and the join are what make it stable.
Roll an even sheet between depth guides, cut small squares, and press simple patterns into each one. The finished tiles are display pieces for a framed grid or a shelf.
Cut flat clay shapes from a slab, plan the strands on paper, and link them with jump rings under a wooden dowel. The layout stage is what makes the finished piece hang straight.