Easy Polymer Clay Crafts
Polymer Clay Photo Holder: A Simple Desk Project
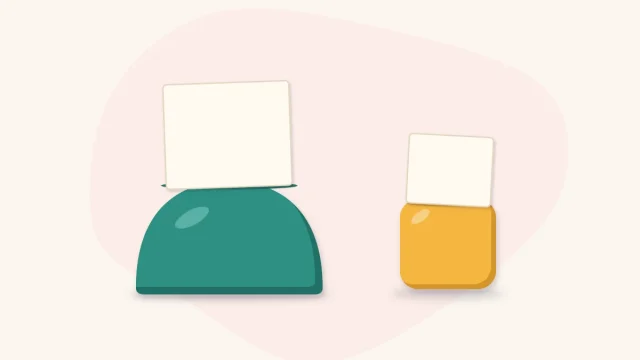
Press a ball of clay into a chunky dome or cube and cut one slot across the top to hold a photo or card upright.
Polymer clay tutorials, step by step
Step-by-step polymer clay tutorials for beginners: jewelry, miniatures, decor, and the core techniques behind them, explained in plain language.
What polymer clay is, which clay and tools to buy first, and how every project moves from block to cured piece. A plain starting point for new makers.
Four tools handle almost every first polymer clay project. Here is what each one does, what can stand in for it, and which upgrades are worth waiting for.
Slice, roll, fold and test: how to condition polymer clay by hand, how to tell when it is ready, and how to rescue clay that is too hard or too soft.
Ball, log, teardrop and sheet are the building blocks of nearly every polymer clay project. Learn to form each one cleanly and see what they turn into.
Press a ball of clay into a chunky dome or cube and cut one slot across the top to hold a photo or card upright.
Build a chunky three-band arch from rolled logs, pierce the hole in the right place and attach it to a split key ring.
Cut six simple shapes from a thick slab, cure them on a tile and glue a magnet to each flat back.
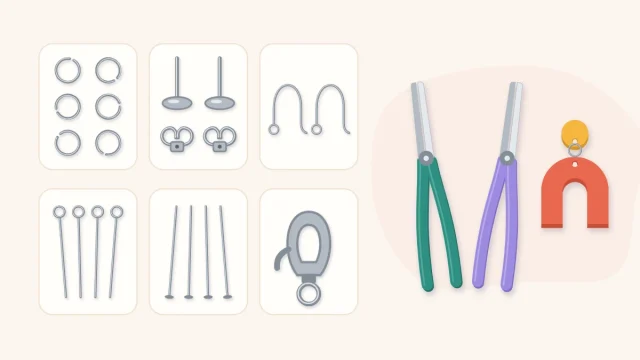
A plain guide to the metal parts that make clay wearable: what each finding does, how to open a jump ring correctly, and how to attach posts so they stay on.
Shape small polymer clay charms from basic forms and set the eye pin so it stays put, using a simple mushroom as the worked example.
Make matching polymer clay beads by measuring equal portions, rolling true rounds and piercing each hole from both sides so the bead keeps its shape.
Build simple, original miniature animals from balls, teardrops and cones. A chick is the worked example, with a pig, a whale and a cat from the same parts.
Build a miniature succulent rosette from graded teardrop petals, seat it in a tiny clay pot, and add a cactus-style column and a trailing plant to make a set.
Make tiny decorative clay donuts with wavy icing and chopped-thread sprinkles. They are display pieces only: not edible and not toys for small children.
Roll a tapered cone, join it to a round base with a properly blended seam, and lift the edge into a shallow dish. The proportions and the join are what make it stable.
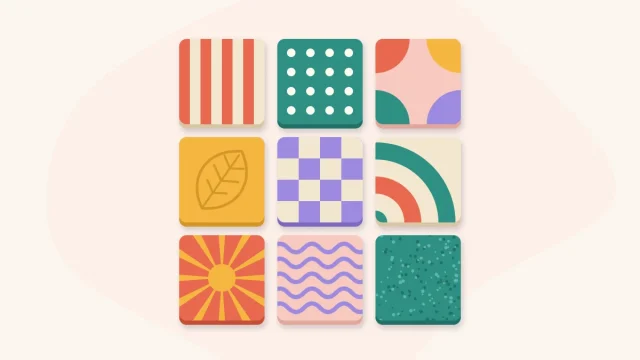
Roll an even sheet between depth guides, cut small squares, and press simple patterns into each one. The finished tiles are display pieces for a framed grid or a shelf.
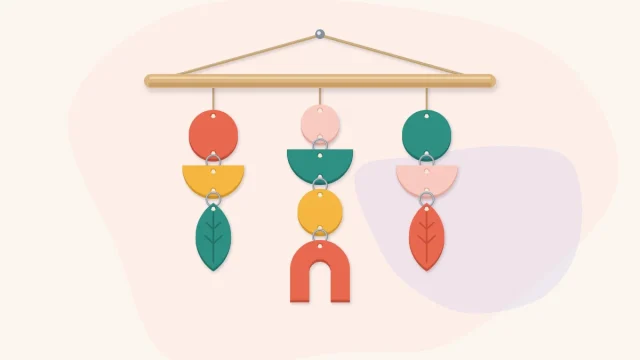
Cut flat clay shapes from a slab, plan the strands on paper, and link them with jump rings under a wooden dowel. The layout stage is what makes the finished piece hang straight.
Clean cutter shapes depend on the surface you cut on, how firm the clay is and how the scrap is removed. This method keeps each piece flat on the tile from cutting through curing.
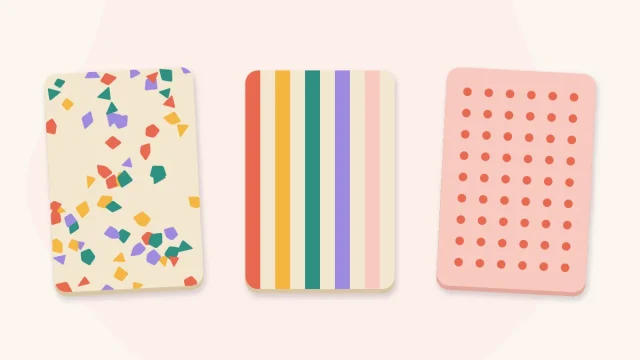
Three slab patterns built from the same few moves: thin decoration laid on a base sheet and rolled in until the surface is level. Learn how to keep stripes straight and dots round.
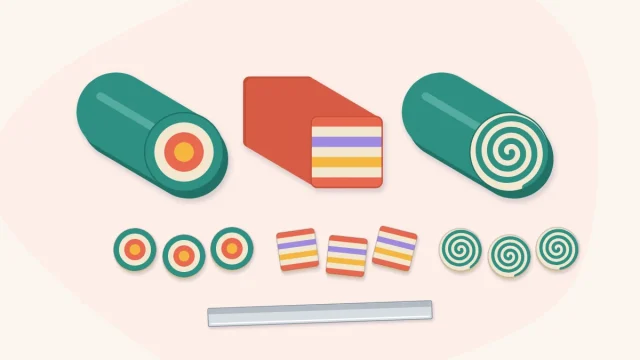
Three beginner canes teach the three core moves of caning: wrapping a log, stacking sheets and rolling a spiral. Build each one large, reduce it, and slice clean patterned pieces.
Miniature pumpkins built from a ball in three moves: flatten, press the ribs, add a stem. Spacing the ribs by halving keeps them even on every size.
Flat clay ornaments cut from one slab, with a clean punched hanging hole and pressed-in decoration. A simple seasonal project for decorative use only.
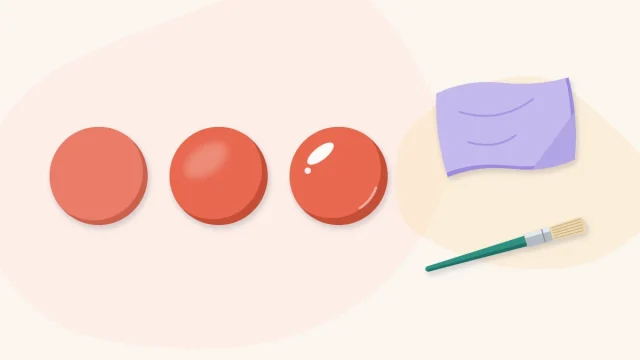
Matte, satin and gloss can each be reached by sanding and buffing the clay itself or by adding a coating. Products vary, so read the label and test on a cured scrap first.
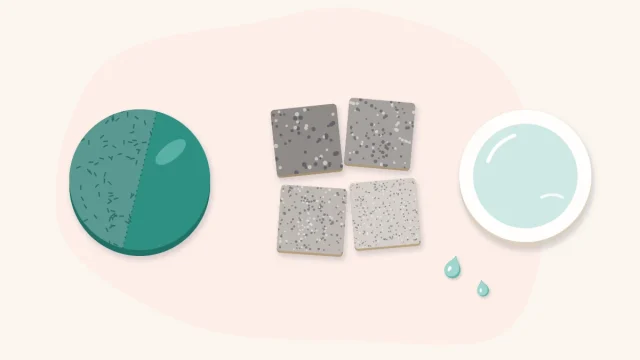
Sand cured polymer clay wet, starting with a medium paper and working up through finer grades. Each stage removes the scratches left by the one before.
Clean cutter shapes depend on the surface you cut on, how firm the clay is and how the scrap is removed. This method keeps each piece flat on the tile from cutting through curing.
Three slab patterns built from the same few moves: thin decoration laid on a base sheet and rolled in until the surface is level. Learn how to keep stripes straight and dots round.
Start with a small project, learn the core techniques, and build from there at your own pace. Every tutorial on the site is free to read, no sign-up needed.