Polymer Clay Slab Patterns: Terrazzo, Stripes, and Dots
Three slab patterns built from the same few moves: thin decoration laid on a base sheet and rolled in until the surface is level. Learn how to keep stripes straight and dots round.
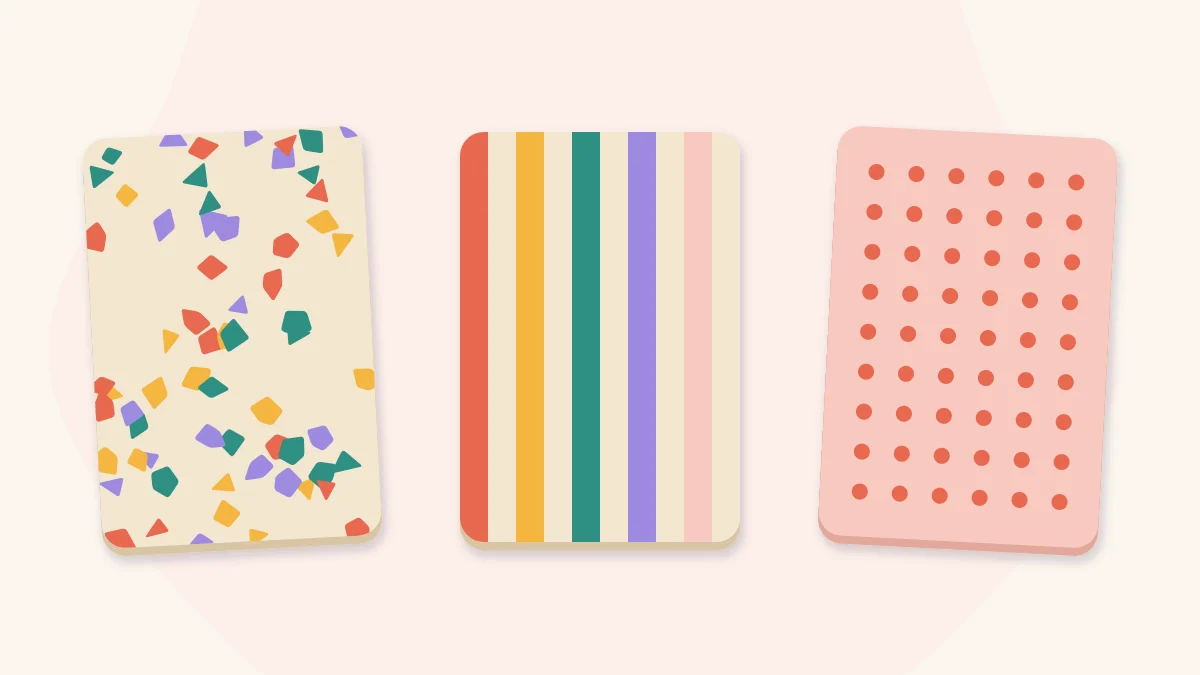
Tutorial at a glance
Materials
- Polymer clay in one base color
- Polymer clay scraps in two to four accent colors
- Acrylic roller
- Tissue blade
- Smooth ceramic tile
- Plain paper or baking parchment
- Needle tool
- Two depth guides of equal thickness
Polymer clay slab patterns turn a plain sheet of clay into something that looks designed before you cut a single shape. A slab is a flat, even sheet of conditioned clay. The pattern comes from laying very thin pieces of other colors on its surface and rolling until everything sits level. Terrazzo, stripes and dots are the three patterns worth learning first, because they share the same few moves and need no special equipment.
The principle is the same for all three. You roll a base slab a little thicker than the finished piece should be, place thin decoration on top, and roll it in. Rolling pushes the decoration down into the base, so the surface ends up smooth instead of raised and the pattern looks as if it belongs to the clay.
What You Need
- Polymer clay in one base color and two to four accent colors
- An acrylic roller, or a pasta machine kept only for clay
- A tissue blade
- A smooth ceramic tile to work and cure on
- Two sheets of plain paper or baking parchment
- A needle tool for lifting and nudging small pieces
- Two depth guides of equal thickness, such as craft sticks or stacked playing cards
Roll the Base Slab First
Start by conditioning the clay until it folds without cracking. Stiff clay will not accept the decoration; the pieces sit on top and peel away later. Roll the base between your depth guides to about 1/8 inch (3 mm), directly on the tile. Working on the tile matters because a patterned slab should never be lifted before it is cut. Lifting stretches it, and a stretched stripe or an oval dot cannot be pushed back.
Check the surface for bubbles and lint before you decorate. Anything trapped under the pattern is far harder to fix afterward.
Terrazzo: Scattered Chips
Terrazzo imitates stone flooring, with irregular chips of color scattered across a plain ground. It is the most forgiving pattern because nothing has to line up.
- Make the chip sheets. Roll each accent color as thin as you can manage without tearing. Thin chips sink in cleanly; thick ones spread into blobs and leave ridges.
- Chop the chips. Cut each sheet into strips with the tissue blade, then chop across the strips at changing angles. Aim for angular pieces in mixed sizes, none larger than about 1/4 inch (6 mm). Keep the colors in separate small piles.
- Scatter them. Drop chips over the base slab one color at a time. Leave more bare ground than seems right, because every chip grows as it is rolled. Use the needle tool to separate chips that land on top of each other.
- Roll them in. Lay paper over the slab and roll lightly in one direction, then turn the tile a quarter turn and roll again. Keep going until a fingertip drawn across the surface feels no edges.

Stripes: Thin Ropes or Strips
Stripes can be made two ways. For soft, slightly uneven lines, roll thin ropes of accent clay and lay them across the base. For crisp lines, roll a thin sheet and slice narrow strips with the tissue blade, pressing straight down instead of dragging.
Lay the first stripe along a straight edge of the slab and use it as the reference for the rest. Space the others by eye or against the edge of a card. Rest each stripe in place without pressing, so you can still lift and move it.
The direction of rolling decides whether stripes stay straight. Roll along the stripes, not across them. Rolling across pushes each stripe sideways and widens it unevenly; rolling along only lengthens it, which nobody notices. Make several light passes instead of one heavy one.
Dots: Balls That Become Circles
A dot is a tiny ball of clay flattened into the base. Round dots depend on equal balls, so measure the clay instead of pinching off random bits. Roll a thin rope of accent clay, cut it into equal lengths, and roll each length into a ball.
For a regular grid, mark faint guide points on the base with the needle tool, then set a ball on each point. For a random scatter, place the balls in loose triangles and avoid straight rows. Press each ball down gently with a fingertip through paper first, so it grips the base and does not skid when the roller arrives.
Roll in short passes and turn the tile a quarter turn after every pass. Dots that are rolled in only one direction stretch into ovals. Frequent turning spreads the clay evenly and keeps them round.
Tip
Roll through a sheet of plain paper or parchment for the first few passes. It stops accent colors from sticking to the roller and smearing a streak of color across a pale base.
The Three Patterns Compared
| Pattern | Decoration | How to roll | Most common fault |
|---|---|---|---|
| Terrazzo | Chopped chips from thin sheets | Alternate directions | Too many chips, so the base disappears |
| Stripes | Thin ropes or sliced strips | Along the stripes only | Wavy lines from rolling across them |
| Dots | Equal small balls | Short passes with quarter turns | Oval dots from one-way rolling |
Fixing Common Problems
- Smeared colors. The clay is too warm and soft. Leave the slab to rest on the tile until it firms up, and handle it less.
- Raised edges around the decoration. The pieces were too thick, or the slab needs more passes. Keep rolling lightly; pressing hard thins the whole slab unevenly.
- Dark specks on a pale base. Lint and stray crumbs of darker clay show clearly on cream or blush. Wipe the roller, tile and your hands before starting, and work the palest colors first.
- A slab that has become too thin. Rolling in the pattern always spreads the clay. Start slightly thicker than you need, or back the finished slab with a plain sheet and roll once more to bond them.
Cutting and Curing the Slab
Move a cutter around above the slab before committing, and choose the areas where the pattern is most balanced. A terrazzo slab looks best when each shape contains chips of at least two colors. The guide to using cutters for clean shapes covers how to cut and peel away the scrap without disturbing the pieces, and patterned slabs are the usual starting point for polymer clay earrings.
Cure the shapes on the same tile they were cut on. Curing requirements differ from one manufacturer and product line to another, so follow the exact instructions supplied with your own clay and do not rely on a general rule. A slab made from more than one product should be checked against each set of instructions. The article on how to cure polymer clay explains how to set up the tile, a foil tent and a separate oven thermometer. Let the pieces cool fully before lifting them, since warm clay bends easily.
Frequently asked questions
Why do my dots turn into ovals when I roll them in?
Rolling in one direction stretches the clay that way, and the dots stretch with it. Use short, light passes and turn the tile a quarter turn after each one so the clay spreads evenly in every direction.
How thick should the base slab be?
Roll it slightly thicker than you want the finished piece, because rolling the decoration in always spreads and thins the slab. About 1/8 inch (3 mm) is a workable starting point for jewelry pieces. If the slab ends up too thin, back it with a plain sheet and roll once more.
Can I use scrap clay for terrazzo chips?
Yes. Terrazzo is a good use for small leftovers, as long as the scraps are conditioned and rolled very thin before chopping. Keep the colors separate while you chop so they do not smear into each other.