How to Make Polymer Clay Earrings
Cut arches and circles from an even slab, cure and sand them, then link each pair with a jump ring and an earring post.
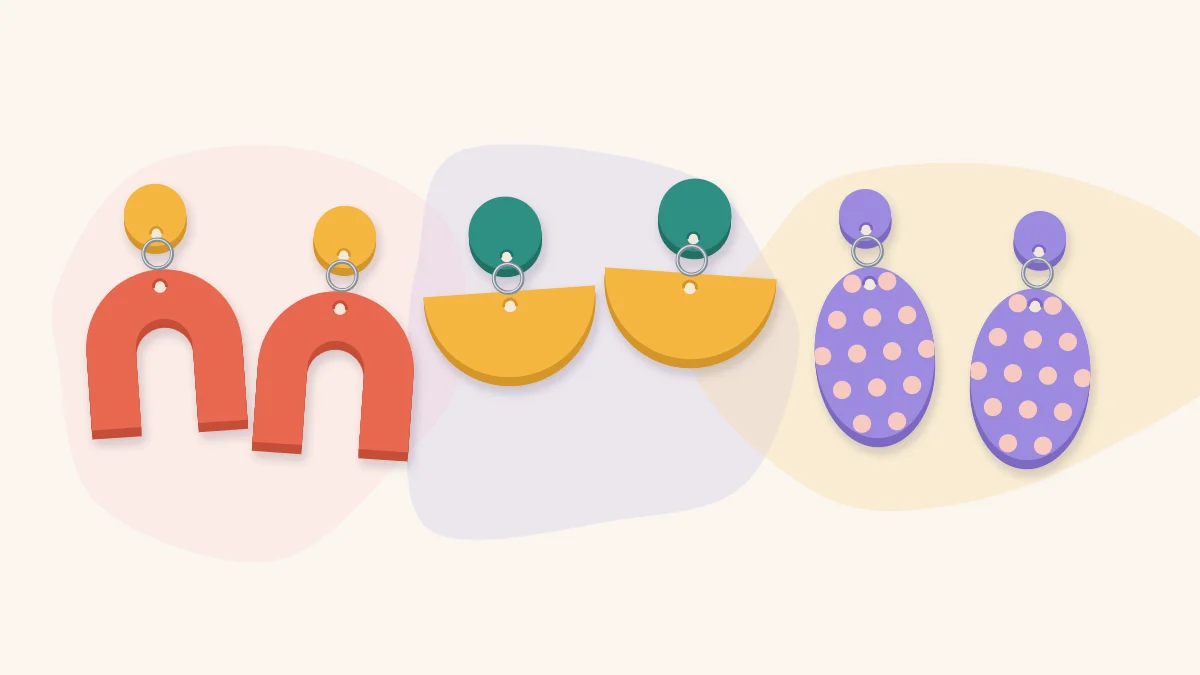
Tutorial at a glance
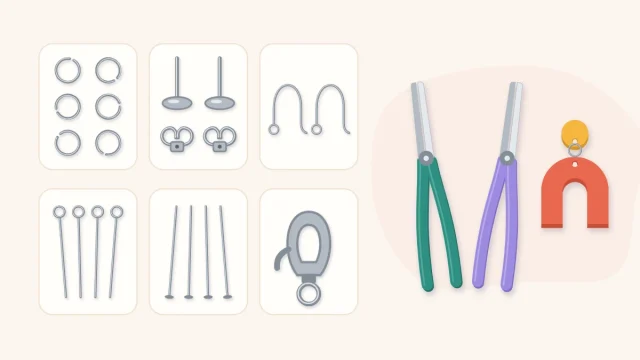
Materials
- Polymer clay
- Acrylic roller
- Smooth ceramic tile
- Arch cutter, about 1 in (2.5 cm) wide
- Round cutter, about 3/8 in (1 cm) wide
- Tissue blade
- Needle tool
- Two jump rings
- Two flat-pad earring posts with backs
- Two pairs of flat-nose pliers
- Two-part epoxy or similar glue (tested on a scrap first)
- Fine wet-and-dry sandpaper
Most polymer clay earrings are built the same way: flat shapes cut from a rolled slab, cured, then linked together with jump rings and hung from a post or hook. Once you can make one clean pair, every other style is a change of cutter and color.
This tutorial makes a classic two-part dangle, with a small round top piece that sits on the earlobe and an arch that hangs below it. Slab thickness, clean edges and hole placement decide how the pair looks, so those get the most attention here.
What you need
- Polymer clay, about a quarter of a standard small block per pair
- An acrylic roller and a smooth ceramic tile
- An arch cutter about 1 inch (2.5 cm) wide and a round cutter about 3/8 inch (1 cm) wide
- A tissue blade and a needle tool
- Two jump rings, two flat-pad earring posts and two backs
- Two pairs of flat-nose pliers
- Glue suitable for bonding metal to cured clay, such as a two-part epoxy
- Fine wet-and-dry sandpaper
Findings metals vary. If the wearer has a metal sensitivity, check what the posts and rings are made of before buying.
Roll an even slab
Condition the clay until it is soft and bends without cracking, then roll it out on the tile to about 1/8 inch (0.3 cm). Thinner pieces are lighter but can flex and snap; thicker ones feel heavy on the ear and pull the lobe down.
Both earrings should come from the same slab so they match in thickness and color. Rest the roller on two equal stacks of playing cards either side of the clay to keep the slab level, and look across the surface at a low angle for bubbles, lint and fingerprints. Fix them now; they only become more obvious after curing.
Tip
Roll the slab directly on the tile you will cure on and leave it there. The clay grips the tile, which keeps shapes from distorting when you cut.
Cut the shapes
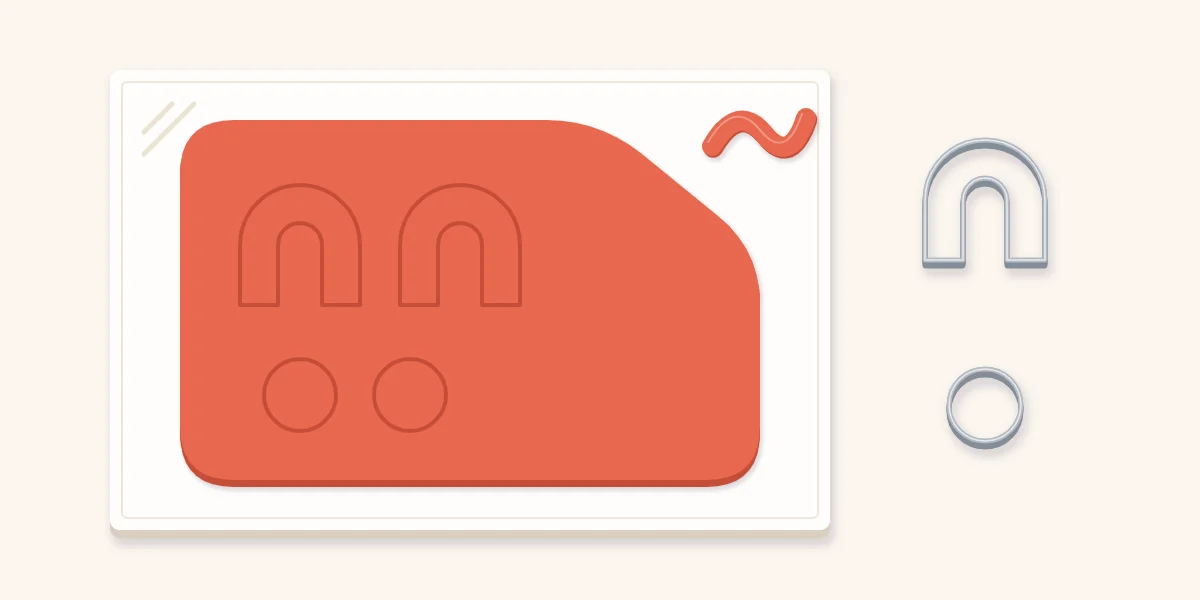
- Plan the layout. You need two arches and two circles. Position the cutters over the cleanest part of the slab with a small gap between shapes.
- Press straight down. Push the arch cutter through until it touches the tile, give it a tiny wiggle and lift it straight up.
- Cut the circles. Do the same with the small round cutter. If a circle lifts out inside the cutter, push it out gently from the back with a ball stylus.
- Peel the scraps. Lift the waste clay from one corner and pull it away slowly, leaving the four shapes in place. Moving cut shapes by hand stretches them, and a stretched pair never matches.
- Tidy the edges. Stroke a fingertip lightly along each cut edge to soften the ridge the cutter leaves.
Ragged edges usually mean the clay was too soft or the cutter was dragged sideways. The guide to using cutters for clean shapes covers the fixes.
Pierce the holes
Each arch needs one hole at the top center. Each circle needs one hole near its bottom edge. Make them before curing with the needle tool.
- Leave a margin of clay about as wide as the hole itself between the hole and the edge. A hole at the very rim tears out.
- Twist the needle as it goes in so it drills through the clay without dragging it.
- Make each hole slightly wider than the jump ring wire. The ring has to swing freely for the earring to hang straight.
- Check the two earrings against each other. Holes in different positions make the pair hang at different lengths.
The raised lip around the back of each hole can be sanded off after curing.
Cure the pieces
Cure the shapes on the tile. Curing requirements differ by manufacturer and by product line, so read the wrapper for the exact clay you used and follow it precisely. Under-cured clay tends to be brittle and will snap at the hole.
A separate oven thermometer is worth having because oven dials can be inaccurate. A loose foil tent over the tile shields light colors from direct heat. Ventilate the room, and let the pieces cool fully on the tile before sliding a blade under them. More detail is in the guide on how to cure polymer clay.
Sand the edges
Wet a piece of fine sandpaper and draw each edge across it with light, even strokes, turning the piece as you go. Rub the backs briefly on the paper to remove the lip around each hole. Rinse the pieces and dry them. The guide on how to sand polymer clay explains how to work through the grits if you want a smoother result.
Choose your earring finding
| Finding | How it attaches | Suits | Keep in mind |
|---|---|---|---|
| Flat-pad post | Glued to the back of the top piece | Two-part dangles and studs | The glue bond has to be tested |
| Fish-hook ear wire | Jump ring through a hole | Single-piece drops | No glue needed; the piece swings more |
| Small hoop | Threaded through a hole | Light charms | The hole must be large enough for the hoop wire |
This pair uses flat-pad posts. For a closer look at each type, see the guide to jump rings, posts and hooks.
Assemble the earrings
- Prepare the back of the circle. Lightly sand the spot where the post will sit, above the hole, and wipe away the dust.
- Glue the post. Put a small dot of glue on the flat pad and press it onto the back of the circle, well clear of the hole. Adhesives vary, so check the product label and test the bond on a cured scrap first.
- Let the glue set. Leave the pieces face down for as long as the glue label says.
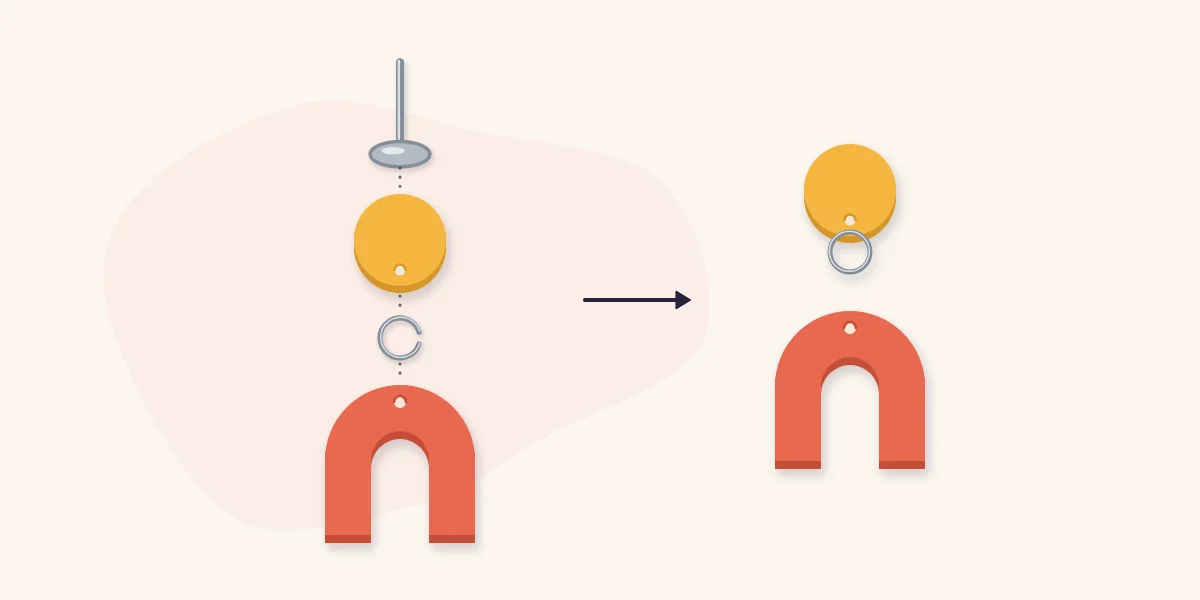
- Open a jump ring. Hold it with a pair of pliers on each side of the split and twist the ends apart sideways, one toward you and one away. Pulling the ring open into a wider C weakens it.
- Link the parts. Thread the ring through the hole in the circle, then through the hole in the arch, with both pieces facing forward.
- Close the ring. Twist the ends back until they meet with no gap, then repeat for the second earring.
Hold the pair up side by side. Both arches should hang straight and at the same height. If one twists, the jump ring is probably too tight in its hole.
Watch out
Some people cover the post pad with a thin layer of clay and cure the piece again for extra hold. Only do this if the instructions for your clay and your findings allow for it, and test on a spare piece first.
Frequently asked questions
How thick should polymer clay earrings be?
About 1/8 inch (0.3 cm) is a practical starting point. Thinner pieces are lighter but more likely to flex and snap at the hole, while thicker ones feel heavy on the ear. Cut both earrings from the same slab so they match.
Should I make the holes before or after curing?
Piercing before curing with a needle tool is the easiest method and needs no extra equipment. Twist the needle as it goes in, leave a margin of clay between the hole and the edge, and make the hole slightly wider than the jump ring wire. Any raised lip on the back can be sanded off afterwards.
What glue should I use for earring posts?
A two-part epoxy is a common choice for bonding a metal post pad to cured clay, but adhesives vary and none can be promised to work with every clay and finding. Check the product label, roughen the clay lightly where the pad will sit and test the bond on a cured scrap before gluing a finished pair.