How to Make Polymer Clay Beads
Make matching polymer clay beads by measuring equal portions, rolling true rounds and piercing each hole from both sides so the bead keeps its shape.
Tutorial at a glance
Materials
- Polymer clay in one or more colors
- Tissue blade
- Acrylic roller
- Needle tool or thick needle
- Ceramic tile
- Thin wire or bamboo skewers
- Small box or folded card for a bead rack
- Ruler
- Cord, elastic or beading wire
Polymer clay beads are one of the most useful things you can learn to make, because every later jewelry project borrows from them: measuring equal portions, rolling a true round, and piercing a hole that runs straight through the middle. None of it needs special equipment. A blade, a needle tool and your palms are enough.
The two places beginners lose beads are size and holes. Beads rolled by eye come out visibly mismatched once they sit side by side on a cord, and beads pierced in one push end up flattened with a ragged exit hole. Both problems have simple fixes, covered below.
What you need
- Polymer clay in one or more colors, well conditioned
- A tissue blade and an acrylic roller
- A needle tool, or a thick sewing needle or toothpick
- A ceramic tile to work and cure on
- Thin wire or bamboo skewers and a small box or folded card to make a bead rack
- Cord, elastic or beading wire for stringing
Clay that is stiff or crumbly will crack as you roll it and tear when the needle goes in. If your block feels firm, spend the time on conditioning the clay properly before you start. Wash your hands first too, since round beads pick up lint and dust on every side.
Measure equal amounts of clay
Matching beads come from matching portions, not from careful rolling. The easiest way to get equal portions is to turn the clay into a shape you can divide evenly.
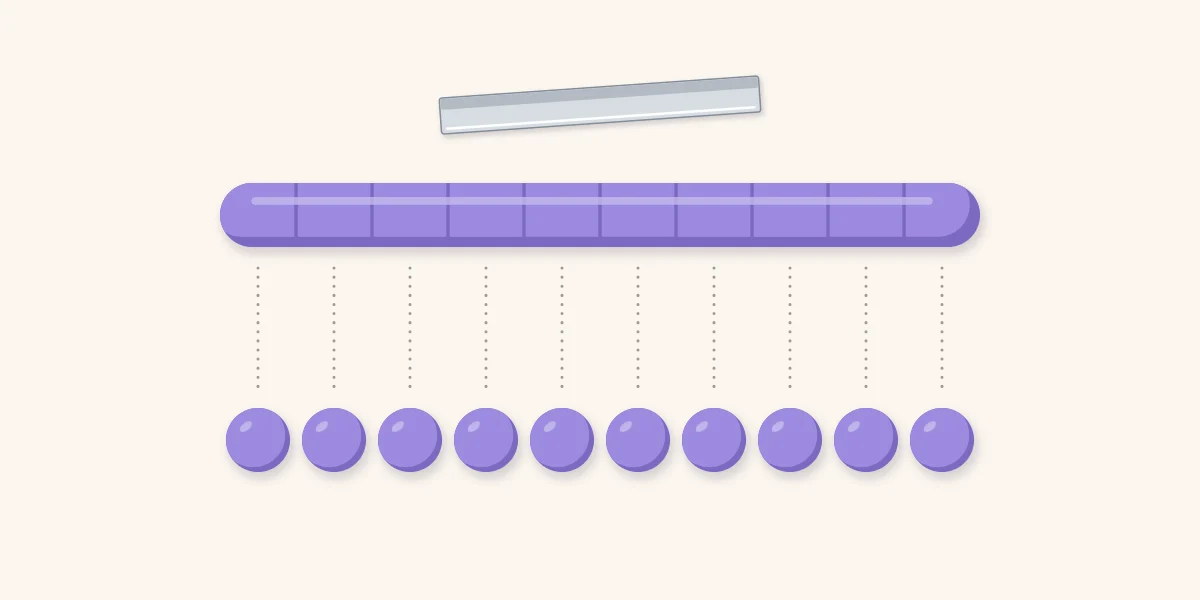
- Roll the clay into a log of even thickness, about 1/2 inch (1.2 cm) across. Check it from the side and roll out any thick spots, because a thicker section gives a bigger bead.
- Lay the log next to a ruler and mark it lightly with the blade at equal intervals. A segment as long as the log is wide gives a bead roughly the size of a pea or a little larger.
- Cut straight down at each mark. Press, do not saw, so the segments stay the same length.
- Set the two end pieces aside. They are usually rounded and smaller than the rest.
For larger batches, roll a sheet between two depth guides and punch portions out with a small round cutter instead. Every punched disc holds the same amount of clay, whatever shape you roll it into afterward.
Roll round beads
Place one segment in the center of your palm and roll it in small circles with the other palm, using light pressure. Heavy pressure makes an oval or a faceted lump. Keep your hands slightly cupped and let the clay travel across the palm instead of spinning on one spot. When the ball looks round, turn it and look from a second angle, since a bead can look perfect from above and be a flattened disc from the side.
If you see a crease or fold line, squash the ball flat, fold the crease to the inside and roll again. A crease that is rolled over rather than removed often opens up as a crack later.
Other bead shapes from the same ball
Start every shape as a round ball. That keeps the amount of clay the same, so mixed shapes still look like one set.
| Shape | How to form it | Good for |
|---|---|---|
| Round | Roll in circles between your palms | Any strand; the easiest to match |
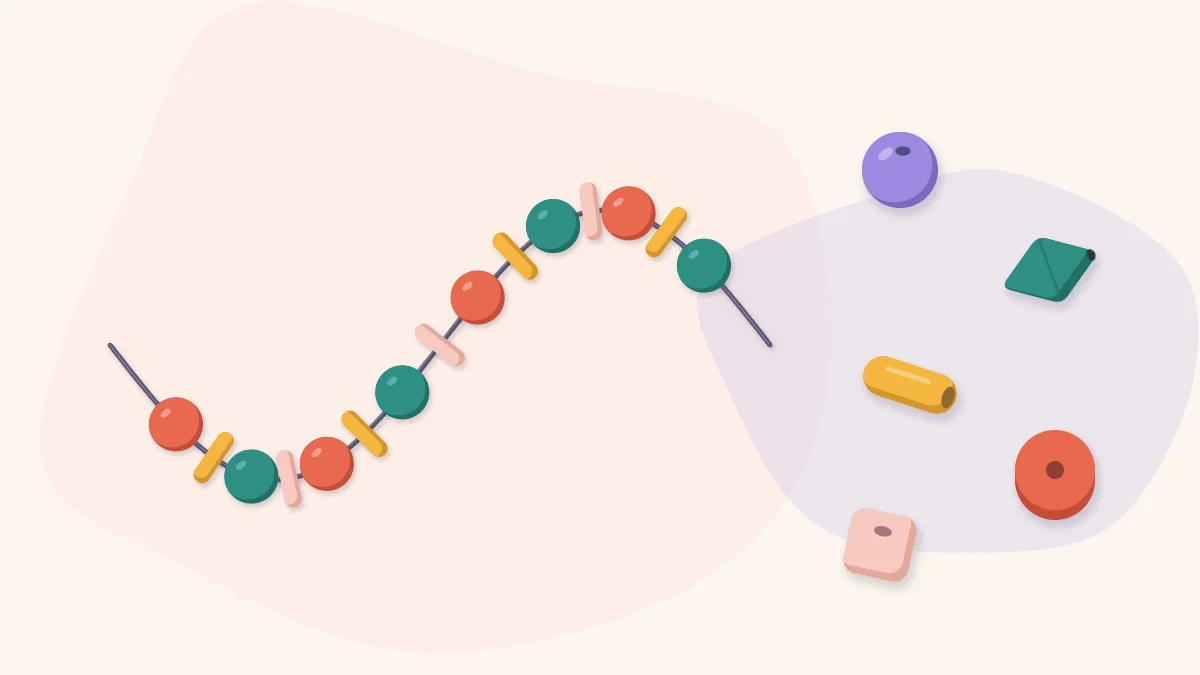
| Disc | Press the ball flat between two fingers or under a tile | Spacers between larger beads |
| Tube | Roll the ball back and forth into a short log, then trim the ends | Long strands and bracelets |
| Bicone | Roll the ball in circles under a small flat tile until two points form | A sharper, more formal look |
| Cube | Tap the ball on the tile on six sides, turning it each time | Chunky, modern strands |
For pattern rather than plain color, wrap a ball in thin slices from simple bullseye or spiral canes and roll until the seams disappear.
Pierce the hole without squashing the bead
A bead deforms when the needle is pushed through it. The fix is to drill, not push, and to work from both sides.
- Hold the bead lightly between thumb and finger at its sides, not at the points where the hole will enter and leave.
- Touch the needle tool to the center and twist it as you ease it in. The twisting lets the point cut its way through instead of dragging clay with it.
- Stop when the tip just begins to raise a bump on the far side. Pull the needle back out.
- Turn the bead around and pierce again through the middle of that bump, twisting until the two holes meet.
- Roll the bead gently on the needle to round it back up, then slide it off.
Piercing from one side only pushes a small crater rim out of the exit hole. That rim cures hard and sharp enough to fray cord over time. Check that the hole is wide enough for your stringing material, and widen it now, since drilling cured clay is slower.
Tip
If soft beads keep denting in your fingers, let the rolled beads rest on the tile for a while before piercing. Clay firms up as it cools from the warmth of your hands.

Cure the beads
Round beads laid directly on a tile cure with a flat, shiny spot where they touched it. To avoid that, thread them onto a length of wire or a skewer and rest the ends across the edges of a small box or a piece of card folded into a trough, so the beads hang in the air without touching each other.
Curing requirements are different for every manufacturer and product line, so read the wrapper your clay came in and follow those instructions exactly. The general setup and the reasons behind it are explained in the guide to curing polymer clay by the package instructions. Use a separate oven thermometer, because oven dials are often inaccurate, and keep the room ventilated. Let the beads cool completely before sliding them off the wire.
Watch out
Under-cured beads tend to be brittle and can snap at the hole, where the wall is thinnest. If a test bead breaks easily, recheck the instructions for your clay and your oven thermometer.
Finish and string
Cured beads can be left as they are for a soft matte surface. If you can feel a seam, a fingerprint or a rim at the hole, wet sanding the cured clay takes it down quickly, and buffing with a soft cloth afterward brings up a low sheen. Varnishes vary in how they behave on polymer clay, so check the label and test on a spare bead before coating a whole set.
Lay the beads out in order before you string them. Alternating rounds with thin discs stretches a small batch into a longer strand and hides small size differences. Finish the ends with a knot or with clasps and crimps, and keep finished strands away from small children, since beads are small parts.
Frequently asked questions
How do you make polymer clay beads the same size?
Measure the clay instead of judging by eye. Roll an even log and cut it into equal segments, or punch portions from an even sheet with a small cutter. Each portion holds the same amount of clay, so the beads match whatever shape you roll.
Should you pierce beads before or after curing?
Piercing before curing is easier for most beginners because soft clay only needs a needle tool. Twist the needle in from one side, stop when it starts to show, then finish from the other side. Cured beads can be drilled with a small hand drill, but it is slower.
Why do polymer clay beads get a flat spot?
A soft bead resting on a tile flattens slightly where it touches and cures that way. Thread the beads on a wire or skewer and suspend them across a box or folded card so they do not touch a surface while curing.