Jewelry Findings for Polymer Clay: Jump Rings, Posts, and Hooks
A plain guide to the metal parts that make clay wearable: what each finding does, how to open a jump ring correctly, and how to attach posts so they stay on.
Tutorial at a glance
Materials
- Jump rings in two sizes
- Earring posts with backs
- Ear wires
- Eye pins and head pins
- Two pairs of flat-nose or chain-nose pliers
- Round-nose pliers
- Wire cutters
- Two-part epoxy or cyanoacrylate glue
- Fine sandpaper
Findings are the small metal parts that turn a cured clay shape into something wearable: the rings that link pieces, the posts and hooks that go through an ear, the pins that give a charm its loop. Choosing jewelry findings for polymer clay is mostly a matter of matching the part to the weight and thickness of the piece, and then attaching it so it stays attached.
The clay is rarely what fails on handmade jewelry. A jump ring gapes open, a post pops off the back, an ear wire bends out of shape.
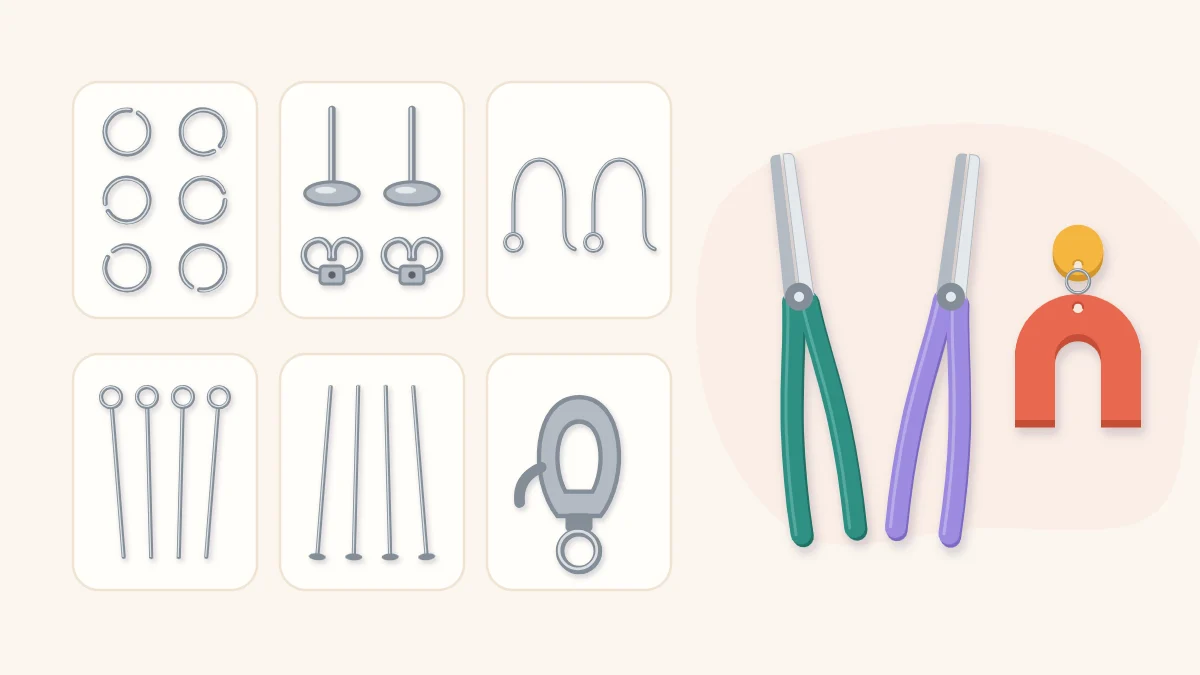
The main findings and what each one does
| Finding | What it is | Typical use with clay |
|---|---|---|
| Jump ring | A small wire ring with a split in it | Linking two clay pieces, or a piece to a hook, chain or key ring |
| Earring post and back | A straight pin on a flat pad, with a clutch that slides on | Studs, and the top piece of a dangle earring |
| Ear wire (fish hook) | A curved wire with a small loop at the front | Dangles that hang from a single hole |
| Eye pin | A straight wire with a loop at one end | Embedded in charms and pendants to give a hanging loop |
| Head pin | A straight wire with a flat head, like a long nail | Threading beads into a drop |
| Bail | A loop on a flat pad or a pinch clip | Hanging a pendant from a cord or chain |
| Lobster clasp | A spring-loaded hook | Closing necklaces and bracelets, clipping charms on |
Jump rings: size, thickness and how to open them
Two measurements matter on a jump ring: the diameter of the ring and the thickness of the wire. The ring has to be wide enough to pass through the hole in the clay and still swing freely. As a starting point, a ring about 1/4 inch (6 mm) across suits most earrings made from slabs of ordinary thickness, and larger rings suit thick pieces such as keychains. Thin wire is easier to open but also easier to pull open by accident, so use heavier wire for anything that will be tugged.
How you open the ring matters more than which ring you buy.
- Hold the ring with two pairs of pliers, one on each side of the split, with the split facing up.
- Twist one hand toward you and the other away, so the ends move sideways past each other. The ring keeps its round shape and simply opens like a door.
- Slip on the clay piece and whatever it connects to.
- Twist the ends back. Go slightly past the meeting point and return, so the ends press against each other and close without a gap.
Never pull the ends apart outward into a wider C. That stretches the circle, the ends no longer meet cleanly, and a thin cord or another ring can slip through the gap.

Earring posts and ear wires
Posts are glued to the back of a cured piece. The flat pad is the bonding surface, so a wider pad gives a stronger join, and it should be smaller than the clay piece so it stays hidden. Place the post slightly above the center of a stud. A post set dead center lets the top of the earring tip forward on the ear.
Ear wires need no glue. Open the small loop at the front sideways with pliers, exactly as you would a jump ring, hook on the clay piece or its jump ring, and close the loop again. Long or heavy clay shapes hang better from ear wires than from posts, because the weight sits below the ear instead of pulling a post forward. The full assembly order is covered in the tutorial on making polymer clay earrings.
Eye pins, head pins and bails
An eye pin pushed straight into clay can slide back out after curing, because cured clay does not grip smooth wire. Bend the buried end into a small hook or zigzag first so the clay closes around it. The steps are shown in the guide to making polymer clay charms.
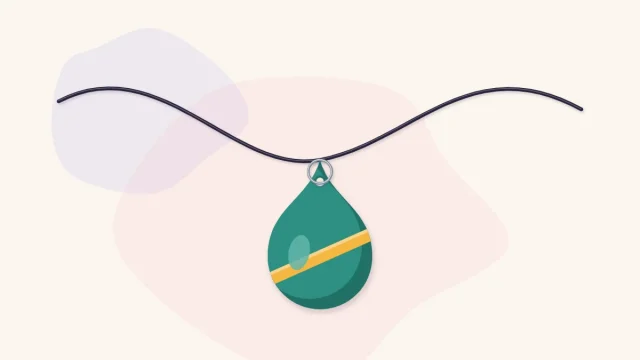
Head pins work the other way around: the bead slides down to the flat head, and you turn the wire above it into a loop with round-nose pliers. For a pendant you can pierce a hole, embed an eye pin or glue on a bail. Each suits a different shape and thickness, and the polymer clay pendant tutorial compares all three.
Metals and sensitive skin
Findings are sold in many metals and platings, including stainless steel, brass, copper, sterling silver, titanium, niobium and plated base metals. They differ in color, in how they tarnish and in how skin reacts to them. Some people react to nickel in particular, and a plated finding may contain a different metal underneath the plating.
No metal can be promised to suit everyone. Read the seller’s description of exactly what a finding is made of, and suggest that anyone with a known metal sensitivity check the material before wearing it.
Gluing findings to cured clay
Posts, bails and magnets are attached after curing. Two-part epoxy and cyanoacrylate glue are the types most often used for metal on clay, but products vary, so read the label for the materials it is meant for and test on a scrap of the same clay first.
- Scuff the back of the clay and the metal pad lightly with fine sandpaper so the glue can grip.
- Wipe away dust and skin oils before gluing.
- Use a small amount. Glue that squeezes out around the pad looks messy and can creep onto the post.
- Leave the piece flat and undisturbed for the full setting time on the glue label.
Tip
For a stronger hold on a post, cover the glued pad with a thin patch of clay and liquid polymer clay and cure again, if your clay and your findings allow it. Check both sets of instructions and try it on one test piece first.
Pliers and a sensible starter kit
You need two pairs of pliers, because a jump ring cannot be opened correctly with one. Flat-nose or chain-nose pliers with smooth jaws are the ones to get. Serrated jaws from a household toolbox leave tooth marks in soft wire. Add round-nose pliers when you start making loops, and wire cutters for trimming pins.
A first purchase can be small: jump rings in two sizes, earring posts with backs, ear wires and a handful of eye pins, all in one metal color. That covers earrings, charms, pendants and a polymer clay keychain, which only needs a larger ring and a split key ring.
Watch out
Findings are small and sharp. Store them in a lidded box, out of reach of young children and pets, and sweep up dropped rings and trimmed wire ends after each session.
Frequently asked questions
How do you open a jump ring without ruining it?
Hold the ring with two pairs of pliers, one each side of the split, and twist one end toward you and the other away. The ring stays round and opens sideways. Close it by twisting back until the ends press together. Pulling the ends apart outward stretches the ring so it will not close properly again.
What size jump rings work for polymer clay earrings?
A ring about 1/4 inch (6 mm) across is a common starting point for earrings cut from a slab of ordinary thickness. The ring must pass through the hole and still let the pieces swing freely, so use larger rings for thicker clay or holes set farther from the edge.
Which metal should you choose for earring findings?
Findings come in many metals and platings, and people react to them differently, so there is no single answer. Buy from a supplier that states exactly what the finding is made of, and tell anyone with a metal sensitivity what the material is so they can decide for themselves.