Polymer Clay Color Mixing: A Practical Guide
Mix custom polymer clay colors from a small palette by measuring in equal parts, then lighten, darken or mute them on purpose. A cured swatch record makes every shade repeatable.
Tutorial at a glance
Materials
- Polymer clay in red, yellow, blue, white and black
- Translucent polymer clay (optional)
- Acrylic roller
- One small round cutter for measuring parts
- Tissue blade
- Needle tool
- Ceramic tile
- Notebook for recipes
You do not need a drawer full of blocks to get the shade you have in mind. Polymer clay color mixing works by kneading two or more colors together until they become one, and a handful of basic colors plus white and black will produce most of what a project calls for. The skill is less about color theory than about measuring, so that a shade you like can be made again next week.
Clay behaves a little differently from paint. Nothing dries on a palette, so there is no hurry. On the other hand, a mix cannot be thinned or wiped away. Once too much of a strong color is in, the only fix is adding more of everything else, which is why the order you add colors in matters.
A starter palette
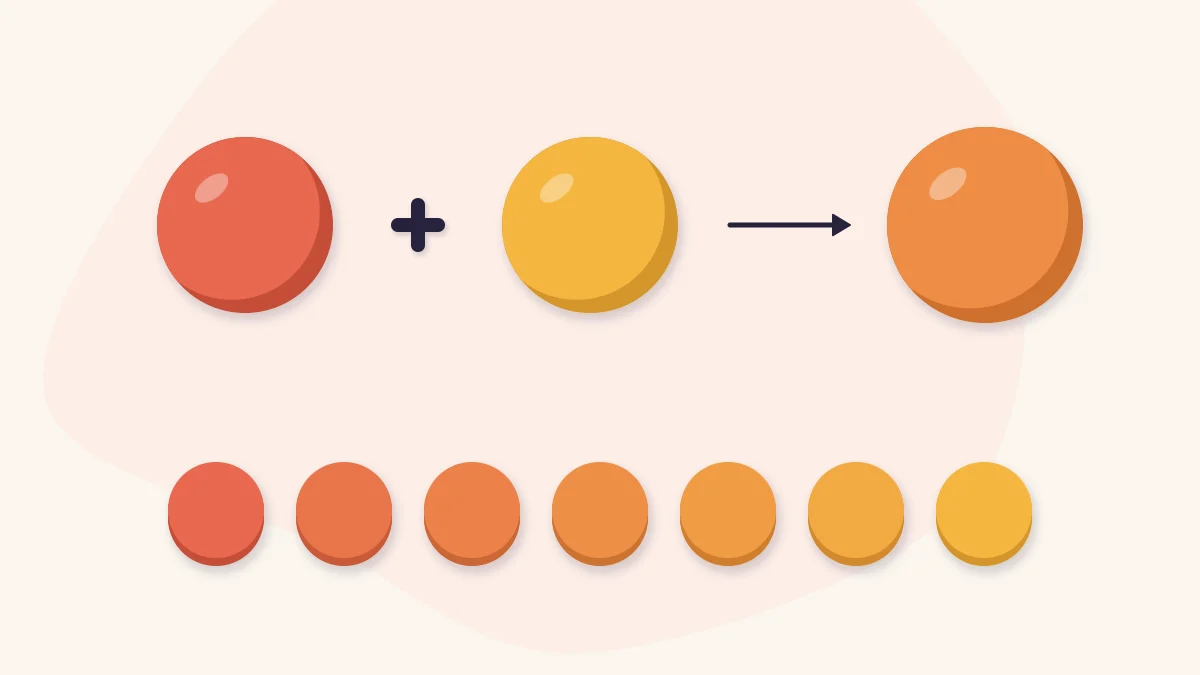
Begin with a red, a yellow, a blue, white and black. Add a translucent block later if you want softer, less chalky pastels. The three pairings every color wheel shows hold true in clay: yellow with red gives orange, yellow with blue gives green, and red with blue gives purple.
The results depend on which red, yellow and blue you start with. A red that leans toward orange makes bright oranges and dull, brownish purples; a red that leans toward pink does the opposite. Pigments also differ in strength from one product line to another, so recipes from someone else’s clay are a starting point at best.
Measure in parts, not by eye
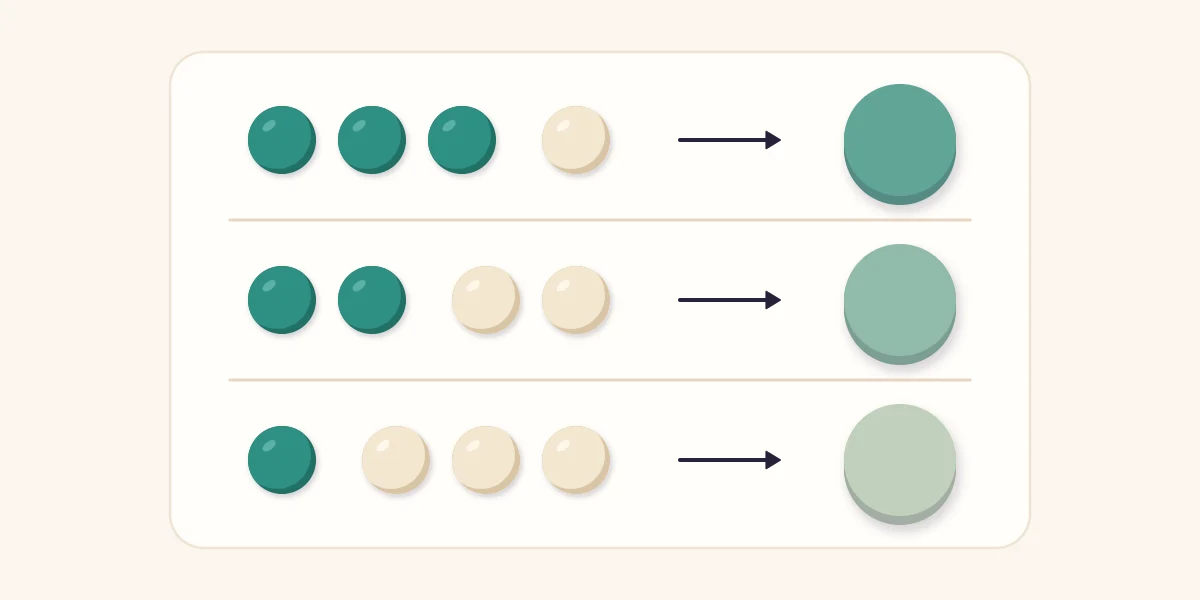
A “part” is any fixed amount of clay, as long as every part in the recipe is the same size. The simplest way to get identical parts is to roll each color into a sheet of the same thickness and punch out pieces with one small cutter. Three circles of teal and one of white is then a recipe you can repeat exactly, at any scale, by keeping the ratio and changing the cutter.
Rolling logs of equal diameter and cutting equal lengths also works, and is the same method used for sizing matching beads in the guide to making polymer clay beads.
- Condition each color separately, so they are equally soft and blend evenly.
- Roll both colors to the same thickness and cut the parts with the same cutter.
- Stack the parts, roll them into a log, fold the log in half, and roll again.
- Keep folding and rolling until no streaks remain. Slice the lump in half to check the inside, since the surface often looks blended before the center is.
Lightening, darkening and muting a color
| Goal | What to add | How to add it |
|---|---|---|
| Lighter (a tint) | White or cream | Start with the white and add the color to it in small parts |
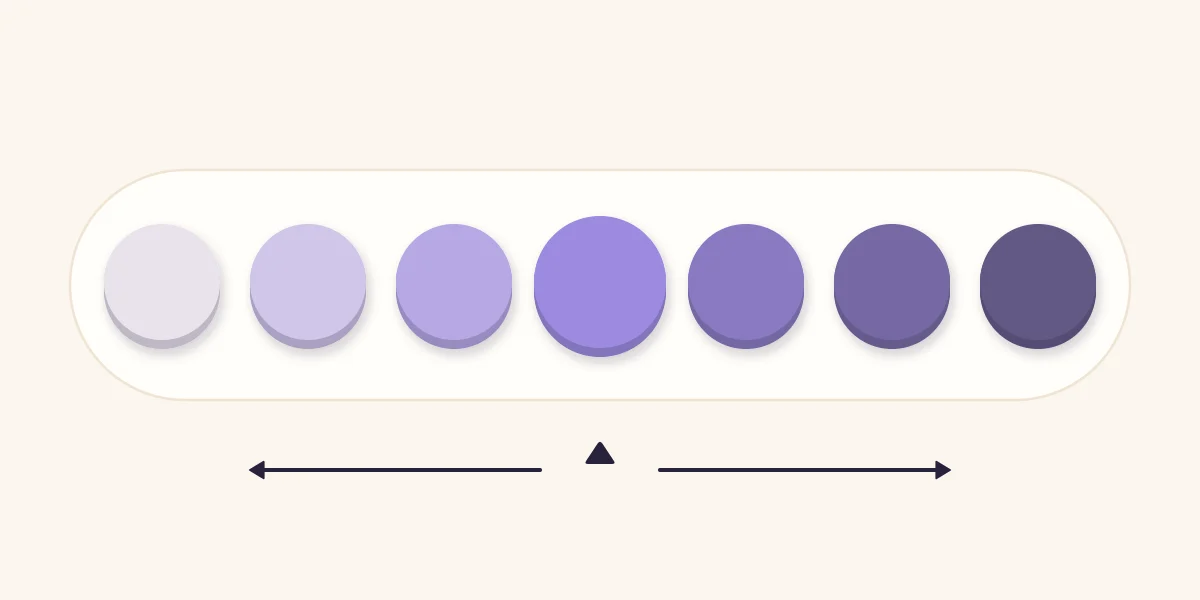
| Darker (a shade) | A very small amount of black, or a darker neighboring color | Add crumbs at a time and blend fully before judging |
| Muted or earthy | A little of the opposite color on the color wheel | Add a small part, blend, and repeat until the brightness drops |
| Softer and slightly see-through | Translucent clay | Mix in equal parts or more; test, as the effect shows mainly after curing |
The direction matters most when lightening. White is weak and most colors are strong, so adding white to a block of teal can use a great deal of white before anything changes. Adding teal to white reaches a pale shade with far less clay.
Black is the reverse: it overpowers everything, and it dulls a color as it darkens it. For a deeper color that stays rich, try the darker neighbor instead: a little blue into green, or a little purple into red.
To mute a color, use its opposite: orange for blue, purple for yellow, green for red. A small amount turns a toy-bright color into something softer and more natural. Too much, and both colors cancel into brown or gray.
Keep a swatch record
Memory is not good enough for color. Each time you make a mix you like, flatten a small disc of it, pierce a hole near the edge, and scratch a code into the back with a needle tool. Write the recipe against that code in a notebook: which colors, how many parts of each, and which product line the clay came from.
Cure the swatch before you trust it. Some colors shift slightly during curing, and translucent mixes in particular look different afterward. Follow the instructions supplied with your own clay for curing the swatches, since requirements differ by manufacturer and product line. Strung on a ring or a cord, the cured discs become a personal color chart you can hold against a project.
Tip
Mix more than you think the project needs. A recipe measured in parts gets you very close a second time, but a small difference in a later batch shows clearly when two pieces sit side by side.
Marbling and gradients
Stopping before a mix is fully blended gives marbling. Twist two or three logs together, fold, and twist again; the fewer times you repeat this, the bolder the streaks. Keep an eye on it, because the step from attractive veining to a flat, uniform color is only a few folds.
A gradient is a series of measured mixes: all of color A, then three parts A to one part B, then equal parts, then one to three, then all of B. Rolled into short logs and laid side by side, those steps make a stepped blend that is a natural starting point for simple canes and for striped sheets in slab patterns.
Common color mixing problems
- Muddy color. Usually three or more strong colors in one mix, or opposites combined by accident. Limit a mix to two colors plus white or black until you know your palette.
- Streaks that will not go away. One color was stiffer than the other. Condition each one fully on its own before combining; the method is in how to condition polymer clay.
- Pale colors that look grubby. Residue from darker clay on hands, roller or work surface. Wipe everything down and work from the lightest color to the darkest in a session.
- A color that came out too dark. Do not keep adding white to the whole lump. Take a small piece of the dark mix and add it to fresh white instead.
- Chalky pastels. A lot of white gives an opaque, flat look. Replacing part of the white with translucent clay softens it; test and cure a swatch to see the real result.
Watch out
Strongly pigmented clays, reds and dark blues especially, can leave color on your hands and transfer to the next thing you touch. Wash your hands between colors and again when you finish working.
Frequently asked questions
How do I make the same clay color again later?
Measure in parts. Roll each color to the same thickness, cut the parts with the same cutter, and write down how many of each went into the mix. Keep a cured swatch with a code scratched on the back so you can compare a new batch against it.
Why does my mixed clay turn brown or gray?
Colors that sit opposite each other on the color wheel cancel one another, and three or more strong colors in one mix often do the same. Keep to two colors plus white or black until you know how your palette behaves. A small amount of an opposite color is still useful when you want a muted tone on purpose.
Does polymer clay change color when it is cured?
Some colors shift slightly during curing, and mixes containing translucent clay can look noticeably different afterward. Cure a small swatch of any new mix, following the instructions supplied with your clay, before using it for a whole project.