Easy Polymer Clay Magnets
Cut six simple shapes from a thick slab, cure them on a tile and glue a magnet to each flat back.

Tutorial at a glance
Materials
- Polymer clay in a few colors
- Acrylic roller
- Ceramic tile
- Small cutters, or a craft knife and paper templates
- Needle tool
- Ball stylus
- Round magnets, one per piece
- Two-part epoxy or cyanoacrylate glue (tested on a scrap first)
- Fine sandpaper
- Cotton swabs
Small, flat and quick to shape, polymer clay magnets are a good way to use up leftover clay and practice clean cutting at the same time. Each one is a single thick shape with a magnet glued to the back after curing.
This project makes a set of six simple shapes: a star, a heart, a leaf, a dotted circle, a cloud and a striped arch. Make all six or pick two or three; the method is the same for every shape.
What you need
- Polymer clay in a few colors (scraps are fine)
- An acrylic roller and a ceramic tile to work and cure on
- Small cutters, or a craft knife and paper templates
- A needle tool and a ball stylus for details
- Round magnets, one per piece
- Strong craft glue, such as a two-part epoxy or a cyanoacrylate glue
- Fine sandpaper and a cotton swab
Watch out
Small magnets are dangerous if swallowed. Keep loose magnets and finished pieces away from young children and pets, supervise older children closely, and read the safety information supplied with the magnets you buy.
Choose the right magnet
A magnet that is too weak lets the piece slide down the fridge door, while one that is too wide shows around the edges of a small shape.
| Magnet type | Strength | Best for | Keep in mind |
|---|---|---|---|
| Ceramic disc (dark gray) | Moderate | Most small flat shapes | Thicker, so the piece stands off the surface a little |
| Rare-earth disc (silver) | Strong for its size | Thicker or heavier pieces | Brittle and snaps together hard; handle one at a time |
| Flexible magnet sheet | Weak | Very thin, light shapes | Can be cut with scissors to match the outline |
As a rough guide, pick a disc about half the width of the clay shape. A piece about 1.5 inches (4 cm) across suits a magnet about 3/4 inch (2 cm) across.
Roll and cut the shapes
- Condition the clay. Knead and roll each color until it is soft and bends without cracking.
- Roll a thick slab. Aim for a little under 1/4 inch (0.5 cm). Thinner pieces look neat but flex when you pull them off the fridge, and repeated flexing is how magnets crack across the middle.
- Cut on the tile. Roll and cut directly on the tile you will cure on, so the shapes never have to be lifted and distorted. Press each cutter straight down and wiggle it slightly before lifting.
- Peel the scraps. Remove the clay around the shapes instead of moving the shapes themselves.
- Soften the edges. Run a fingertip around each outline to round off the sharp corner left by the cutter.
No cutters? Draw a simple shape on paper, cut it out, lay it on the slab and trace around it with a craft knife held upright. For more on getting clean outlines, see the guide to using polymer clay cutters.
Add simple decoration
Keep the decoration low and flat. Raised details catch on things and are the first parts to break off.
- Dotted circle: roll tiny balls of a contrasting color, place them on the circle and press each one flat with a fingertip so it sits level with the surface.
- Striped arch: lay thin snakes of clay side by side on the slab, roll over them once to merge them, then cut the arch from the striped area.
- Leaf: press a center line with the needle tool, then add short angled veins on each side.
- Star, heart and cloud: leave them plain, or press a pattern into the surface before cutting. The texture techniques guide shows what a toothbrush, a ball stylus and crumpled foil each leave behind.
Cure the pieces
Leave the shapes on the tile and cure them according to the instructions printed on the package of your clay. Curing requirements differ between manufacturers and product lines, so the wrapper in your hand is the only reliable source. A separate oven thermometer, a loose foil tent over the tile and a ventilated room are all worthwhile, and the guide on how to cure polymer clay explains each one.
Let the pieces cool fully on the tile before lifting them. Clay that is still warm bends, and a magnet glued to a bent back will not sit flat.
Attach the magnet after curing
Gluing the magnet on afterwards keeps it out of the curing process and lets you position the disc exactly where the piece balances.
- Roughen the back. Rub the center of the back with fine sandpaper. A slightly scratched surface gives the glue something to grip.
- Clean both surfaces. Wipe the clay and the magnet with a dry cotton swab to remove dust.
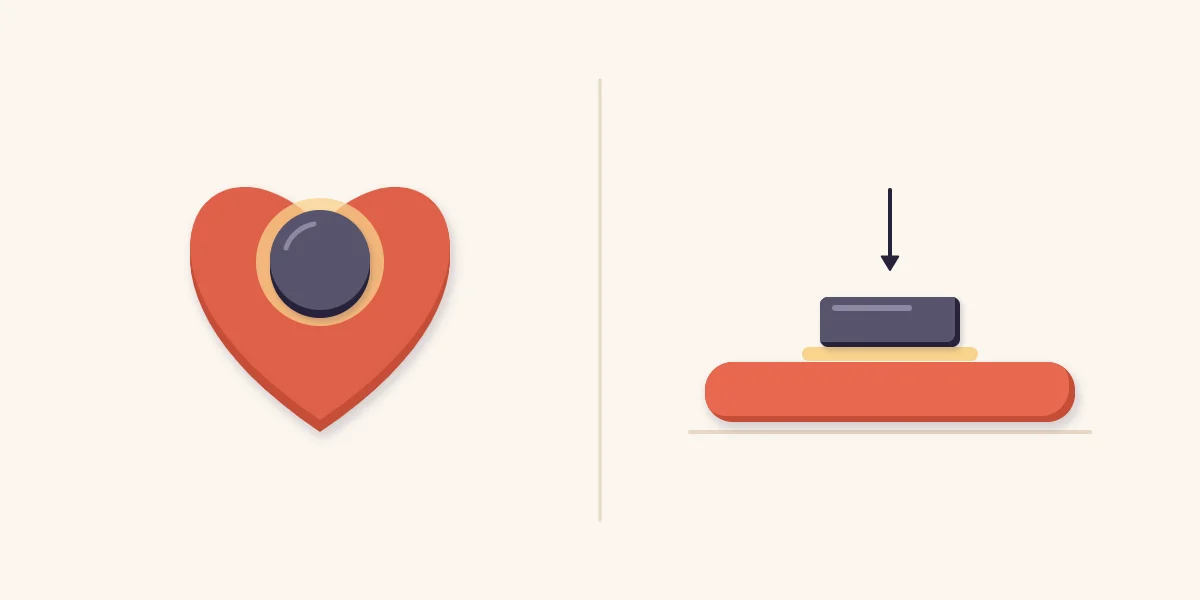
- Apply a small amount of glue. Put the glue on the magnet, not the clay. Excess squeezes out around the edge and dries as a visible ring.
- Press and center. Set the magnet in the middle of the back and press it down firmly. On a tall shape such as the arch, place it slightly above center so the piece does not tip forward.
- Leave it alone. Rest the piece face down and let the glue set for as long as its label says before testing it.
Glues vary, and not every adhesive bonds well to cured clay or to every magnet coating. Check the product label and test the bond on a cured scrap first. Work with good ventilation and follow the handling advice that comes with the glue.
Tip
Keep the other magnets well away while one is setting. Two discs close together will jump toward each other and drag through wet glue.
Finish and troubleshoot
A finish is optional. If you want a sheen, read about matte, satin and gloss finishes, check the varnish label and test it on a scrap before coating a finished piece.
- The magnet pops off: the back was too smooth or dusty, or the glue did not suit the surfaces. Sand both lightly, clean them and try a different type of adhesive on a test scrap.
- The piece slides down: the magnet is too weak for the weight. Use a stronger disc or make the next piece a little smaller.
- The shape cracked in half: the slab was too thin for its width, or the clay was under-cured and brittle. Roll thicker and recheck the package instructions.
- The piece rocks on the surface: the back is not flat. Sand it level on sandpaper laid on a tile before gluing.
To remove a finished piece from a fridge or board, slide it sideways to the edge rather than prying it up by one tip, which stresses thin points such as the arms of the star. To stand a photo or card upright on a desk instead of pinning it to metal, make a polymer clay photo holder.
Frequently asked questions
Should the magnet go on before or after curing?
Gluing it on after curing is the simplest approach. The magnet never goes through the curing process, the back of the clay stays flat against the tile, and you can position the disc exactly where the finished piece balances.
What glue holds a magnet to polymer clay?
Two-part epoxy and cyanoacrylate glue are common choices, but adhesives vary and not all of them bond well to cured clay or to every magnet coating. Check the product label, roughen both surfaces lightly and test the bond on a cured scrap first.
How thick should polymer clay magnets be?
A little under 1/4 inch (0.5 cm) is a good starting point for shapes about 1.5 inches (4 cm) across. Thinner pieces flex each time they are pulled off a surface, and that repeated bending is what cracks them.