How to Make a Polymer Clay Trinket Dish
Roll a marbled slab, cut one clean circle and shape it in a shallow form to make a small dish for rings and studs.
Tutorial at a glance
Materials
- Polymer clay in two or three colors
- Acrylic roller
- Tissue blade or craft knife
- Round cutter or a bowl to trace, about 4 in (10 cm)
- Shallow bowl or saucer kept for craft use as a shaping form
- Ceramic tile or plain paper work surface
- Needle tool
- Fine wet-and-dry sandpaper
- Varnish (optional, tested on a scrap first)
A polymer clay trinket dish is one of the most forgiving first projects you can pick. It is a single rolled circle with a gentle curve, so there are no joins to fail and no tiny parts to lose, and a marbled pattern hides most beginner fingerprints.
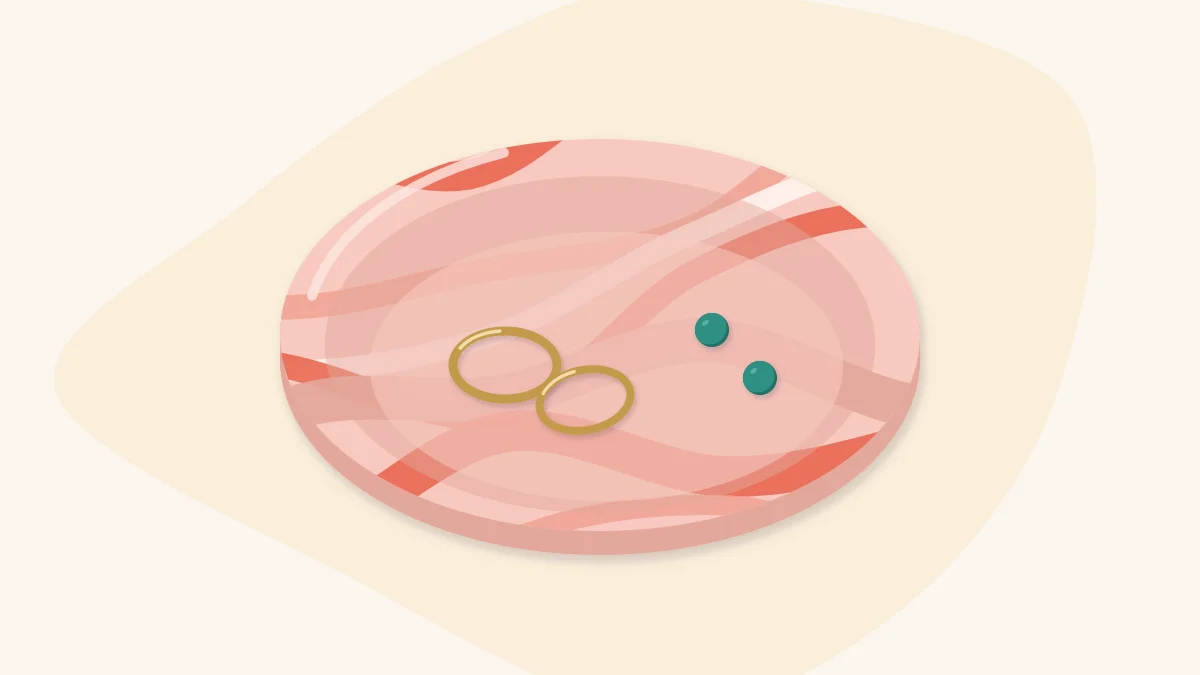
The dish made here is a shallow round one, sized for a couple of rings and a pair of stud earrings on a dresser or bedside table. It is a decorative catch-all for small jewelry only. Do not use it for food, drink, or anything hot.
What you need
- Polymer clay in two or three colors (blush, coral and a little white marble well together)
- An acrylic roller
- A tissue blade or craft knife
- A round cutter, or a bowl or lid to trace around, about 4 inches (10 cm) across
- A shallow bowl or saucer to use as a shaping form
- A ceramic tile or a sheet of plain paper to work on
- A needle tool for popping air bubbles
- Wet-and-dry sandpaper for the rim, and an optional varnish
Keep the roller, blade, cutter and form with your clay supplies. Tools that have touched polymer clay should stay out of the kitchen.
Pick a size before you roll
A wide dish rolled too thin flexes at the rim and chips easily, while a tiny dish rolled thick looks heavy. Use the table as a starting point and adjust to the cutter you have.
| Dish | Circle to cut | Slab thickness | Good for |
|---|---|---|---|
| Small | About 3 in (7.5 cm) | About 1/8 in (0.3 cm) | One or two rings |
| Medium | About 4 in (10 cm) | A little under 1/4 in (0.5 cm) | Rings and a pair of studs |
| Large | About 5 in (12.5 cm) | About 1/4 in (0.6 cm) | A small everyday jewelry pile |
For the medium dish, plan on roughly one standard small block of clay in total across all your colors.
Marble and roll the slab
Start by conditioning each color separately until it bends without cracking. Stiff clay splits along the rim when you curve it.
- Roll logs. Roll each color into a log about as thick as a pencil. Make the main color longer than the accents.
- Twist. Lay the logs side by side, press them together and twist the bundle like a rope.
- Fold and twist again. Fold the rope in half, roll it smooth and twist once more. Two or three rounds is usually enough.
- Ball it up. Roll the rope into a ball so the streaks swirl in different directions.
- Roll the slab. Flatten the ball with your palm, then roll it out with the acrylic roller, turning the clay a quarter turn between passes so it spreads evenly.
Stop mixing while the streaks are still distinct, because every extra fold blends the colors toward one muddy shade. If the first side looks dull, flip the slab over; the reverse is often better.
Tip
For an even slab, rest the ends of the roller on two matching stacks of playing cards or two craft sticks placed either side of the clay. The roller cannot go lower than the guides, so the slab ends up the same thickness all over.
Cut the circle and shape the curve
- Check for bubbles. Look across the slab at a low angle. Pierce any raised bump from the side with the needle tool and press the air out.
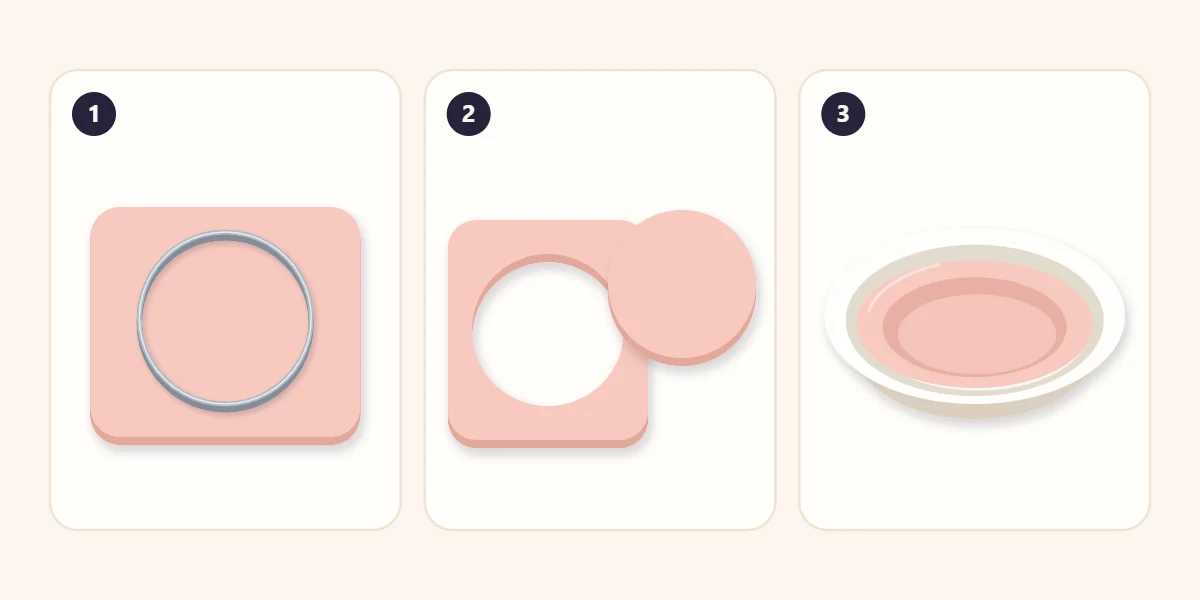
- Cut. Press the round cutter straight down through the slab, or lay a bowl rim on the clay and trace around it with a blade held upright. A tilted blade leaves a slanted edge that is hard to sand even later.
- Lift. Peel the scraps away first, then slide the tissue blade under the circle to release it. Pulling the circle up by one edge stretches it into an oval.
- Smooth the rim. Run a fingertip lightly around the cut edge to round it over. A sharp edge is the first place a dish chips.
- Shape. Lower the circle into the shallow bowl and let it settle. Press gently from the center outward so the clay takes the curve without trapping air underneath.
If the dish is going to stay in the bowl while it cures, choose a form that suits the curing instructions for your clay. If you have no suitable form, pinch the rim up by hand and prop it on a ring of crumpled foil on a tile instead; the curve will be shallower.
Cure the dish
Curing requirements are set by the manufacturer and differ between brands and even between product lines from the same maker. Read the wrapper for the clay you used and follow those instructions exactly. If you marbled two different product lines together, check both sets of instructions.
Place a separate oven thermometer next to the piece, because oven dials are often inaccurate. Tent the dish loosely with foil to shield it from direct heat, which helps pale colors keep their shade. Ventilate the room, and let the dish cool completely in its form before you lift it out, since warm clay is still slightly flexible and can warp. The guide to curing polymer clay walks through the full setup.
Watch out
A dish that snaps cleanly when flexed at the rim is usually under-cured. Under-cured clay tends to be brittle, so recheck your oven thermometer against the package instructions before making the next one.
Sand the rim and add a finish
The rim is the only part that normally needs work. Wet a piece of fine wet-and-dry sandpaper and sand the edge with light strokes, following the curve, until it feels even all the way around. Rinse and dry the dish.
A finish is optional. Left bare, the clay has a soft matte look. If you want a satin or glossy surface, compare the options in the guide to polymer clay finishes first. Varnishes vary, so check the product label and test on a cured scrap from the same slab before coating the dish. Brush on thin coats and let each one dry fully.
Fixing common problems
- Cracks at the rim: the clay was under-conditioned or the slab was stretched while lifting. Condition longer and release the circle with a blade.
- A bump in the base: air was trapped under the clay in the form. Press from the center outward next time.
- Uneven rim height: the circle went into the form off-center. Nudge it level before curing.
- Shiny patches on the outside: a glazed form leaves a glossy surface where the clay touched it. Sand the outside lightly for a matching matte look.
- Muddy color: the marble was mixed too far. Use the blend for the base of another project and start again with fewer twists.
Frequently asked questions
Can I use a polymer clay trinket dish for food or snacks?
No. This dish is a decorative holder for rings and small jewelry only. Do not use it for food, drink or hot items, and keep the tools and shaping form you used with your craft supplies rather than in the kitchen.
Do I have to cure the dish inside a bowl?
Not necessarily. A form gives the most even curve, but it has to suit the curing instructions for your clay and should be kept for craft use afterwards. Without one, you can pinch the rim up by hand and support it on a ring of crumpled foil on a tile.
Why did my marbled pattern turn into one flat color?
The colors were twisted and folded too many times. Each fold blends the streaks a little more, so stop while the lines are still clearly separate. Two or three rounds of twisting is usually enough before rolling the slab.